How to set up Google Workspace to scale with your business
Jim Wrubel
CEO, Orchestra AI · June 26, 2023
A comprehensive guide to setting up Google Workspace for a new company, including tips, tricks, and best practices.

Like a lot of early-stage companies, when we incorporated Orchestra one of the first things we did was set up a Google Workspace for the organization. It's a pretty cheap way to get email for your business and it gives you all of Workspace's tools - Docs, Sheets, Slides, a business YouTube channel, and more.
If you've never set up Google Workspace before the process can be a little tricky. In this article we'll walk through the process and identify best practices and things to consider. We'll also share a bunch of tricks for saving money and making Google Workspace work for you as you grow your business.
Getting Started
To get started navigate to workspace.google.com and click Get Started.

Enter your business name ( use the legal name here - you'll add the domain soon) and number of employees.
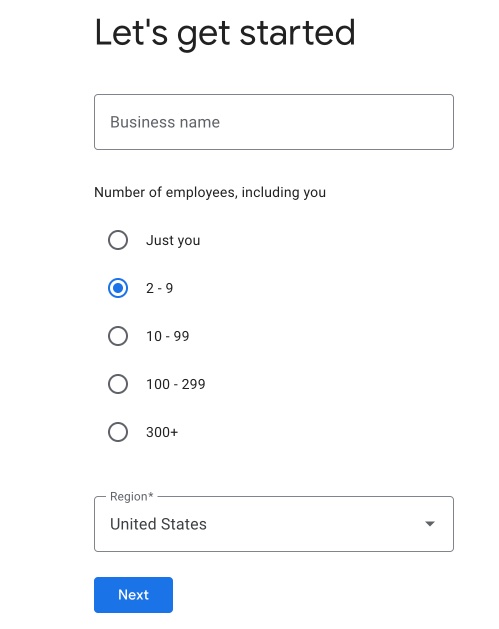
The form will ask if you have a domain name - if so click Yes, but if not you can use the Startup Recipes guide to learn how to pick one and register it.
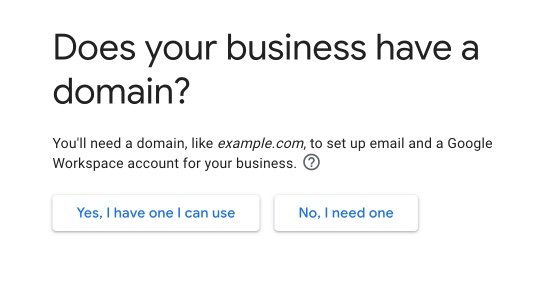
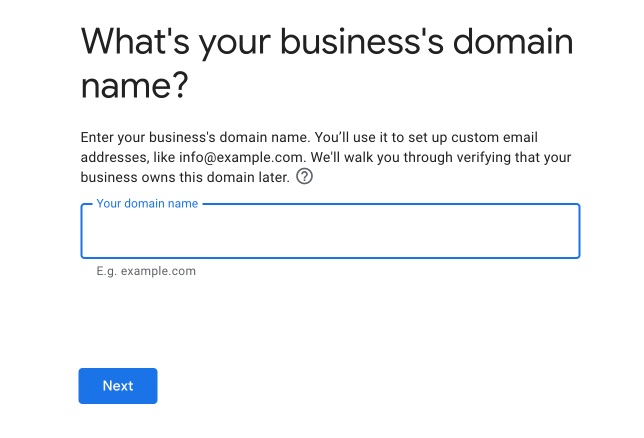
If you do have a domain and clicked Yes, this is where you'll enter it.
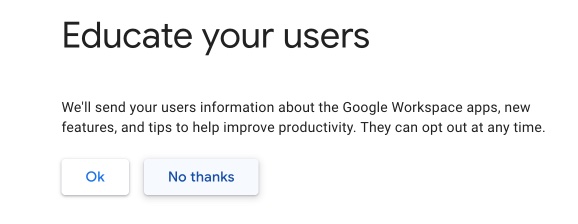
Depending on your team's familiarity with Google's suite of tools you may want to opt them out of onboarding emails.
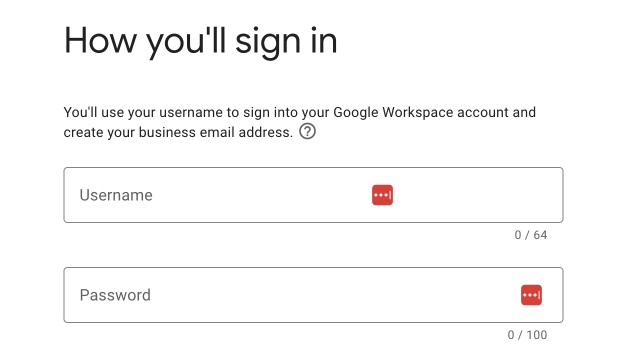
Next you'll set up your new account. Where it says username, this is the part of the email address to the left of the @ sign . Usually companies set up some kind of pattern; first initial and last name for example. Small businesses might want to use just their first name for a more personal touch.
That's all there is to the first part. Next you'll be asked to check out.
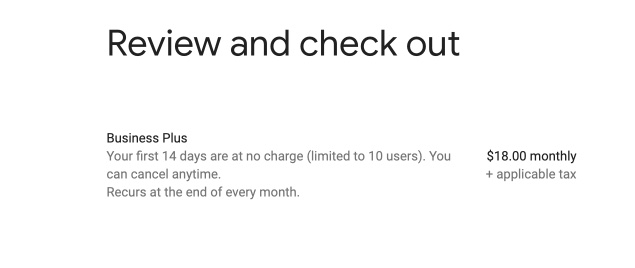
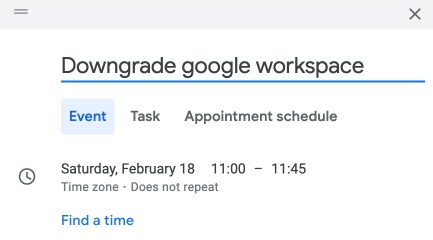
Note that Google defaults you to a free trial of a very expensive plan, so the first thing you want to do when you get this set up is set a calendar reminder for 13 days to downgrade to the cheapest plan.
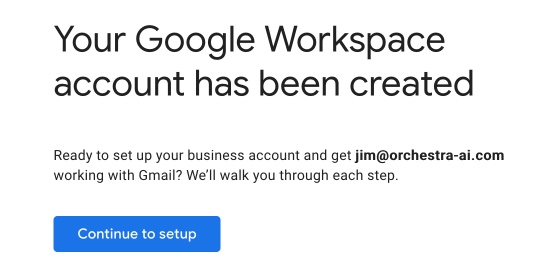
Once that's set you'll get a confirmation screen.
Part 2: Setting up your Google Workspace
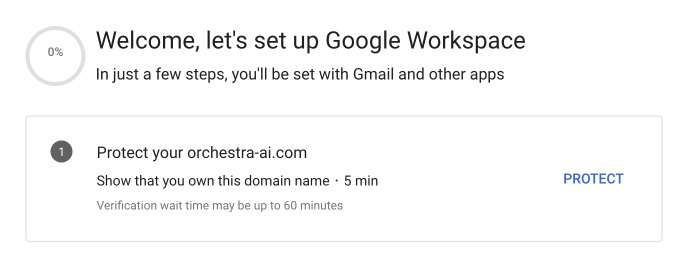
Once you have checked out you'll need to connect Google Workspace to your custom domain. You'll start by going to your domain registrar to let Google know you actually own your domain. Click Protect.
You'll need to have access to the provider for your DNS, which unless you've changed it is the platform you used to register your domain. In Orchestra's case we used (and recommend ) Namecheap but Google will actually adjust the documentation on these screens based on the provider you are using.
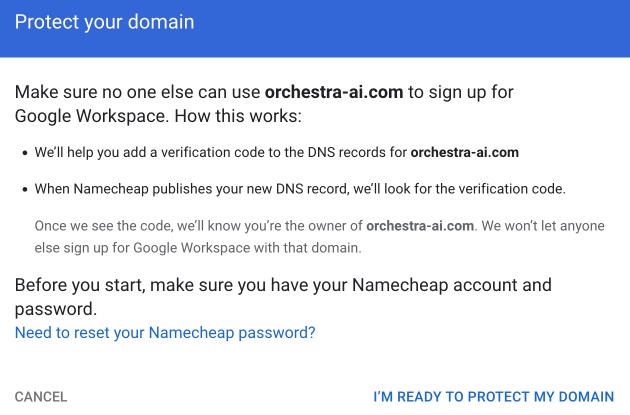
The actual process for completing the verification is different for every provider so this post won't include this step, but you should be able to use Google's documentation to enter the required data.
When you're done, click Protect Domain.

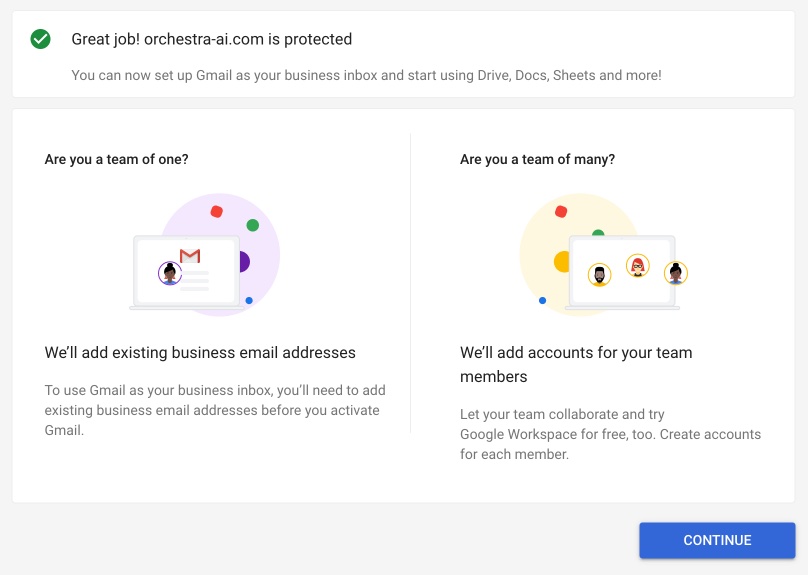
Once you're finished you can move on to configuring email. This step can be completed later if you need to, but if you're ready to continue, click Continue.
Part 3: Setting up GMail for your company
For this part you'll need to go back to your DNS provider and set up MX records. This is a quick process that allows Google to accept and process emails sent to your company's addresses.
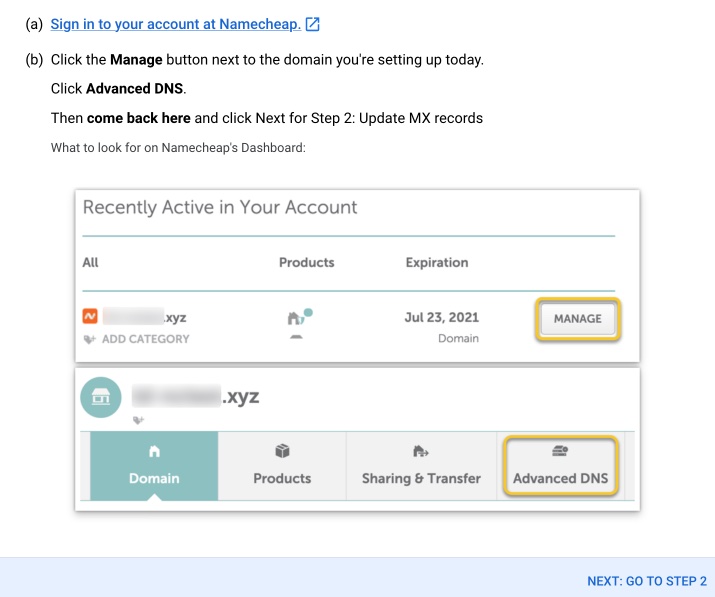
Namecheap has an option specifically for configuring GMail (and many other domain registrars do too, so this process is as easy as selecting GMail from a dropdown and clicking Save Changes.
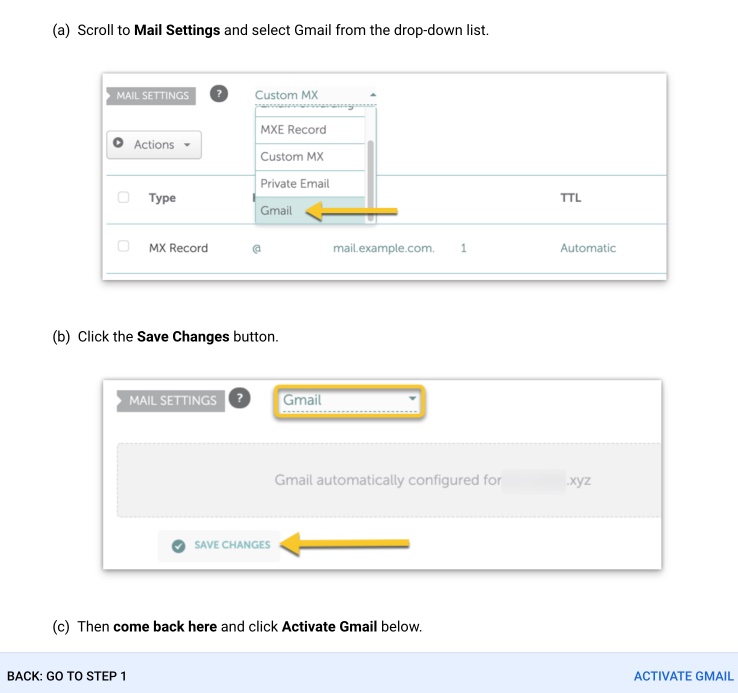
Once you are finished, GMail is selected in Namecheap.

Once Google confirms your MX records are updated you can start receiving email at your fancy new GMail inbox!

Step 4: Tips, tricks, and best practices for configuring your business email in Google Workspace
This section isn't part of the official Google documentation. These are practices I developed having used Google Workspace or its previous variants since about 2011. While I was getting Google Workspace set up I discovered this article from Rick Manelius and it closely matches my own set of best practices, so I link to it often with gratitude in this section.
One of the more frustrating parts of email as a primary source of company communication is if you send a critical email on April 26th, a new person who joins your team on April 27th can't access that email. When you're early and growing quickly you'll have new people starting constantly, and maintaining a culture of information sharing and knowledge management is crucial and challenging. If you set up some structure early you can prevent unintentional information silos.
Using GMail Groups to centralize access
Almost every business tool you'll need for your company is offered as a SaaS. Accounting, project management, customer support, chances are good you'll need one (or more) tool in each of these categories. They all work the same; the first person who signs up for the tool becomes the admin in that tool for your company. So if they leave, your access to advanced features in that tool can leave with them and it's really hard to fix after the fact.
Instead of having your team sign up with individual accounts, start now by setting up a bunch of groups, and add the appropriate people to the group. Since a Google Workspace group is an email you can sign up with the group email instead of your own, and anyone in that group has the same access. No more unintentional lockouts, no more asking coworkers over text message to send you a two-factor code because you need to get into a service but it's their account on it.
Using an alias also lets you add new people to groups based on job role over time. I recommend the following groups at a minimum:
accounts@- For third-party services where you don't use their built-in workflow functionality.billing@- For products that have an option to send invoices to a specific email, use this one. Add anyone internal who needs access and also your bookkeeper / accounting team, if you have one.support@- If your company takes help requests over email, a mail alias can be a fine tool to manage email conversations until you can afford a full helpdesk package.sales@- If your company takes inbound sales requests through email, have this go to everyone in that process. If you have a 'contact sales' form you can have the requests from that go here.team@- If you need an all-company email address this is a fine alias. You might not want this to accept email from external sources.founders@- If your company has a founding team you can set up this alias to go to all of the founding team. If you send an investor newsletter, for example, you can set the reply-to email tofounders@so that all of the founders can see inbound replies.- hello@ - Use this for inbound general website inquiries or anywhere you want broad distribution of information that's not sensitive.
Others you could consider (you can add these later, too)
legal@(for contact through privacy policy/terms of use)dcma@(for takedown requests, if your company allows user-generated content)
How to set up a mail alias in Google Workspace admin
It's not as easy as it should be to configure these groups, so here's an example using the hello@ alias we use.
Start by opening the Google Workspace Admin console and navigating to Directory -> Groups, or just use this direct link. Only admins can access this functionality.
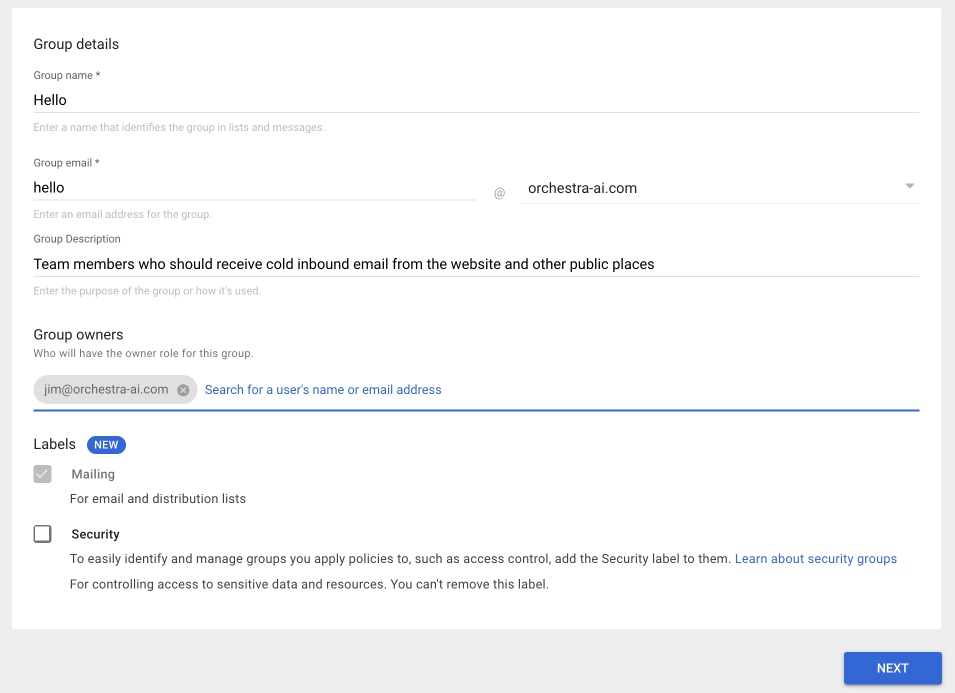
Click Create group, and enter the name, email, and description. Next add a group owner (if it's you, enter your own email as it won't default to you). Because this is a mailing alias, leave it as Mailing and click Next.
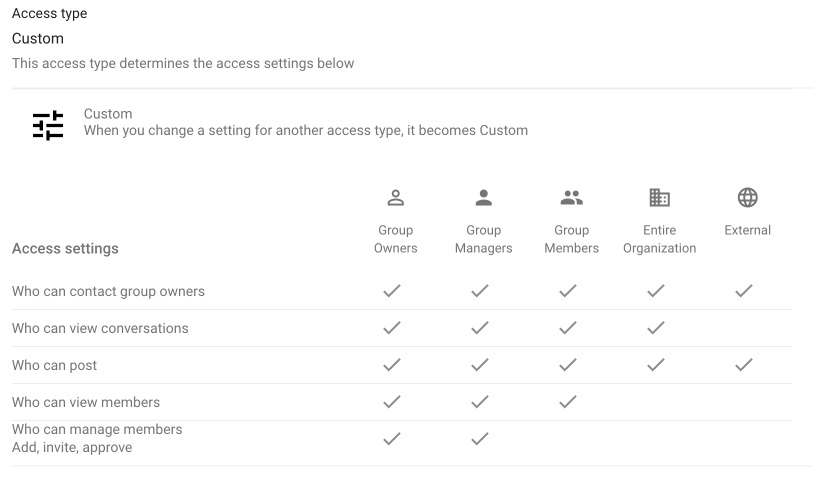
Next you'll need to set up permissions. To use a Google Group email as a mailing list you'll want to select Custom. For mail aliases that should be allowed to accept email from outside the company you need to set up the External column. For a mail alias like hello@ it's appropriate to allow anyone in the company (Entire Organization) to view messages, but for something like legal@ or billing@ you might want to deselect that checkbox so that only people in the group can read email.
Implementing a password manager for your company
While this isn't strictly related to Google Workspace, using email groups for login means you'll want to have a tool to manage credentials more centrally. Get a tool like 1Password, BitWarden, or Lastpass and make a habit of storing credentials there. For the peace of mind these tools bring the cost is absolutely worth it. Rick's article describes the features of 1Password, and there's a Startup Recipe for doing the same with BitWarden. Whichever tool you use, this along with setting up two-factor authentication and implementing whole-disk encryption are the most critical early-stage processes you can implement to improve your information security.
Setting up team drives in Google Drive
Just like centralizing email, centralizing access to documents is another best practice you should start early to build a solid foundation for your company. Anyone who's worked in an office role in the past decade or so likely has a horror story of a person who left unexpectedly and had a bunch of critical documents stored in their personal Google Drive. Start early, use Google's Shared Drive feature and set up several shared drives now:
- Finance
- Legal
- IT
- Marketing
- Sales
- HR
- Team
Set up the permissions so that the shared drives are only accessible by people in those functions, and when a new person starts you add them to the drive and they should instantly have access to the documents they need.
Wrapping up
This is a fairly long process but if you get your email, shared drives, and access controls set up correctly you'll be building a solid foundation for your company as it grows. This type of structure is a lot harder to set up and enforce in later stage companies, but if you're just starting out the time you save down the road will be invaluable.